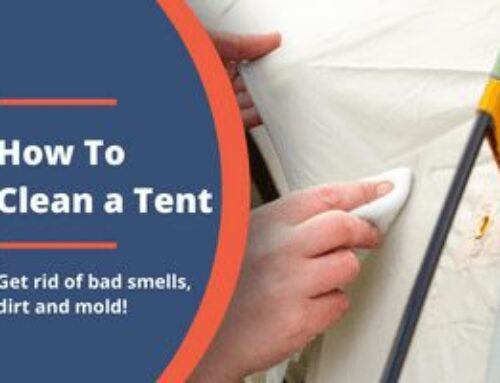
Even the toughest tent can suffer from the occasional hole, tear, or leak.
Having a damaged tent can ruin your trip.
Let’s imagine a scenario:
You’ve reached your campsite.
You’re about to put up your tent.
You’re already dreaming about relaxing and enjoying the great outdoors.
But, when it comes to actually putting your tent up, you notice a busted seam.
End of your camping trip, right?
Not necessarily.
Small damages to your tent aren’t the end of the world, and for the most part, can probably be fixed with a simple tent repair.
How To Repair a Hole in a Tent
Small tent holes are easy to repair. You can do it at home or during your trip.
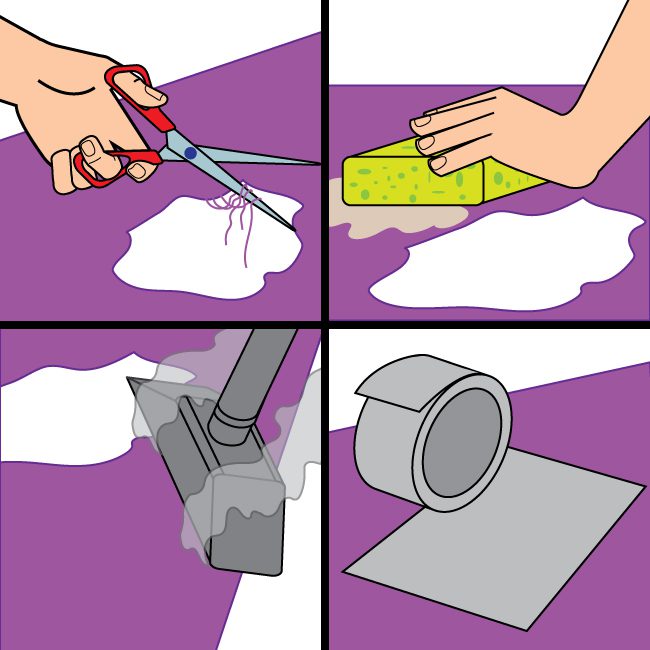
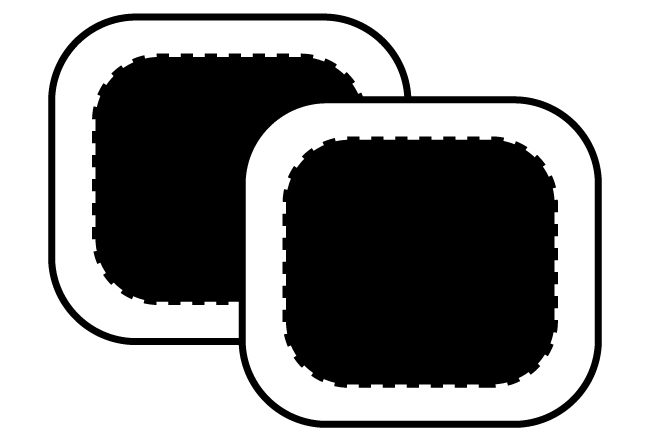
- Trim All Visible Fibers & Threads – If you look closely, you’ll see exposed threads at the torn area. Trim those threads with sharp scissors. Doing so will prevent any further tearing.
- Clean the Area – Make sure all the dirt is cleaned off. Use a brush or sponge to clean stubborn dirt but don’t be too harsh – you could make the hole worse! Clean the tent from the inside out.
- Steam – Then, if possible, steam the area from the outside. Steaming makes the surface flat and smooth.
If this is not an option, have someone flatten out the area with their hands.
- Apply Patching Tape – Cut the patching tape into two equal pieces. Make sure the patching tap is large enough and equal in size to seal the hole both from inside and outside.
Apply pressure on the tape and make sure to leave no bubbles or creases.
If the hole is bigger than your hand, stitch the hole together first before applying the tape.
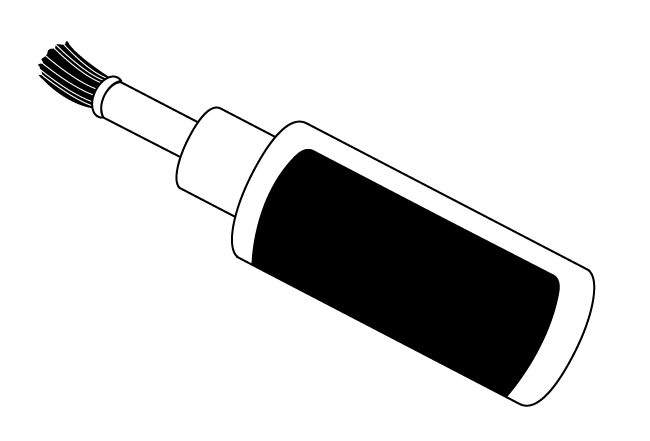
How To Seal Tent Seams
Sealing seams is easier than you think.
The product comes in a small bottle with an application brush.
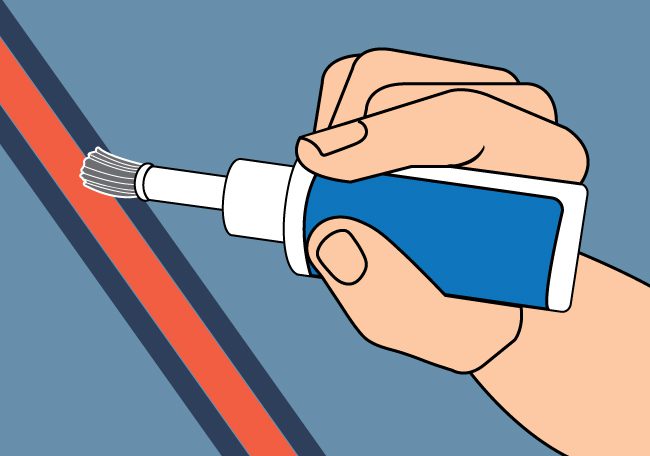
Just follow these steps:
- Seam sealing is done from the inside of the tent. So set up your tent if it is not already.
- Gently remove any worn out tape or sealant that is coming loose.
- Clean the seams with a rag and rubbing alcohol. Let the area dry before moving onto the next step.
- Using the application brush, apply a smooth even coating of the new seam sealer.
- Let the seam sealer dry completely.
How To Fix Broken Tent Poles
A simple accident or high winds can break your tent poles.
If you have the right equipment, repairing tent poles is a breeze.
Use Manufacturer Parts – The first and foremost option for tent pole repair is to use the spare parts specifically made for that tent. Most new tents come with extra poles.
Use Repair Kit – Some high-end tents also come with a repair kit that will include a splint sleeve. If your tent doesn’t come with a repair kit, you can buy one.
Splints are pole repair sleeves, which is a short tube used to repair broken, bent or snapped poles.
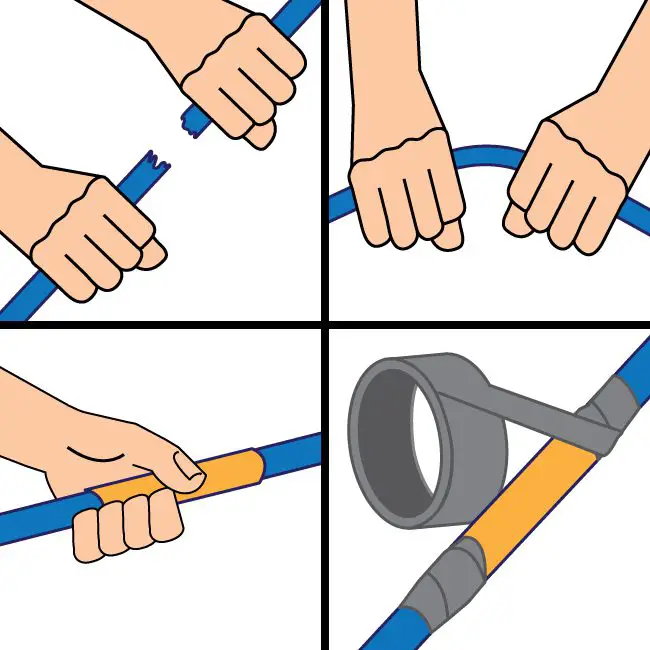
- Line up the broken pole sections.
- If the pole is bent, not actually broken, slowly straighten the bent area.
- Slide the sleeve over the pole end until it’s centered over the break or kink. You might have to use pliers to crimp or a rock to bend damaged pieces so that the sleeve can slide over them.
- Wrap each end of the sleeve/pole a couple of times with duct tape, or whatever heavy-duty tape you have on hand.
- If your pole breaks where one pole end inserts into the next one, you will have to splint the sections together; keep in mind that this will prevent the poles from folding up neatly when you take the tent down.
If you don’t have a splint sleeve, a tent stake or something similar, can be used instead. Just wrap the duct tape around the edges of the stake.
Buy Replacement Pole – This is not possible when you are at the site, but once you get home, consider purchasing replacement tent poles.
How To Repair Waterproofing on a Tent
This is a repair you’d probably only want to do at home.
Waterproofing plays an important role in camping. It helps you keep dry and comfortable when the weather doesn’t go your way.
If it is failing, re-applying a durable water repellent will help you stay dry.
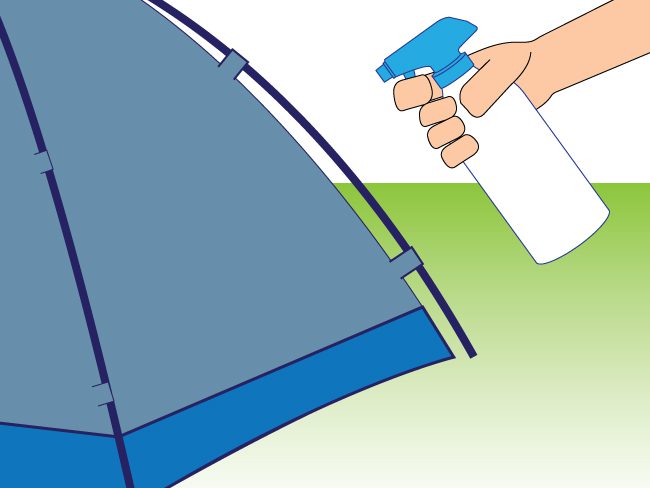
- Set Up Your Tent – You can not reapply any waterproofing without the tent being assembled.
- Apply Durable Water Repellent (DWR) – This repellant can be in the form of paste or spray. Before you apply the solution, make sure your tent is wet.
Once your tent is wet, read the instructions on the bottle and apply as instructed. Wipe any excess solution after letting it sit for a couple of minutes.
- Let it Air Dry – Don’t use a dryer to dry your tent because it will cause more damage. Just let it air dry. Be sure the tent is completely dry before packing it up.
Accessories You’ll Need To Repair Your Tent
Whether you purchase a tent repair toolkit or buy the tools individually, make sure you have these important accessories.

Duck Tape – With the help of duck tape, you can fix almost all types of tent damage.

Needle and Thread – To fix larger tent holes, you’ll first need to stitch and then apply the sealant.
Self-Adhesive Tent Patches – Some tents might come supplied with a patch of their own. If your tent doesn’t come with patches, consider buying some. These patches can repair small rips or punctures in your tent fabric.
Seam Sealant – The fastest way to repair your seam is to spray or brush on a layer of seam sealant.
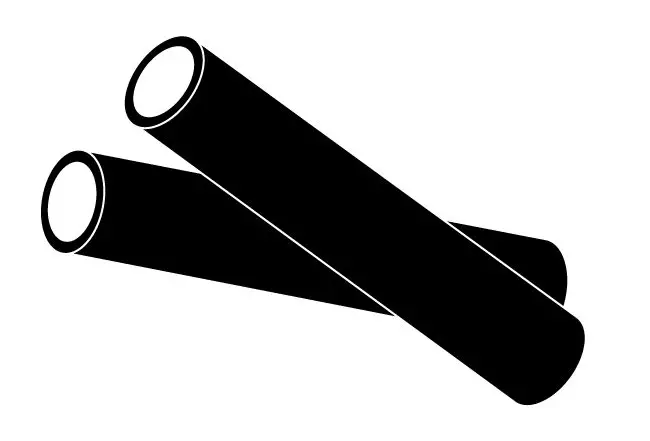
Metal Pole Sleeve – Pole sleeves are short metal tubes that you can place over the bent or broken parts of a pole.
Spare Pole – Sometimes poles can get damaged up to the extent that they can’t be repaired. In this case, having a spare pole will be a blessing.

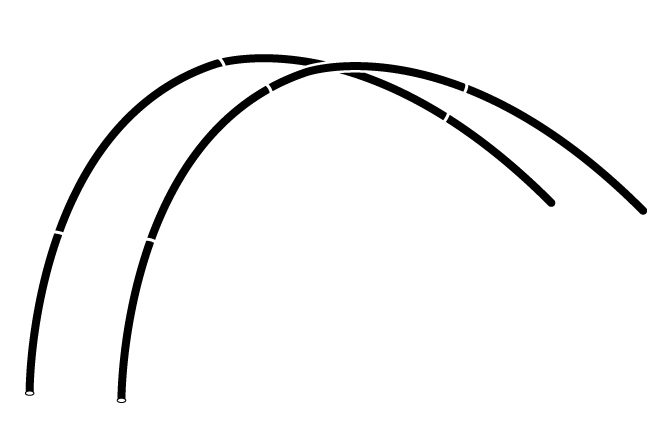
Spare Guylines – You never know when you need that spare guyline. Guyropes/guylines can get worn through friction, especially the loop that goes around the peg.
Basic Tent Maintenance Tips
Repairs are going to be inevitable.
But there is some basic maintenance you can do to prevent major damage.
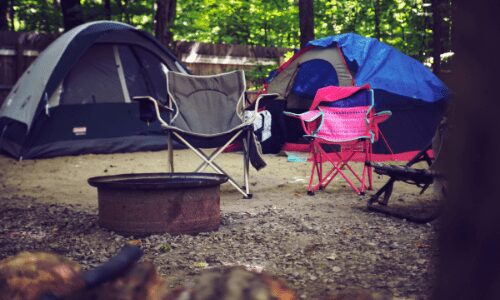
Tent Care During Set-Up
- Clear Debris – Remove branches, pine cones, rocks, pebbles, and thorny grasses.
- Use Groundsheet – The groundsheet under your tent provides an extra layer of protection to you and the tent. It also protects your tent floor from abrasion and provides a clean surface where you can pack up your tent.
- Look for Shade – The sun can seriously harm the fabric of your tent if kept exposed for a long period of time. It can bake dirt into the fabric, weakening it, making it easier to damage.
- Use Rainflies – Flys protect your tent fabric from sun, rain, and wind.
- Go Slow With the Poles – Putting too much pressure on the poles can bend or break them. Handle it with care, slowly unpack it and fit pole sections together one at a time.
Caring for Your Tent While Camping
- Sweep Your Tent Often – Always take a broom and dustpan with you on your camping trip. Sweeping your tent once every day will keep your tent clean and will make it a better place to sleep.
- No Food Inside – Avoid eating food inside your tent at any cost unless it’s raining or snowing. It will prevent spills and unwanted lingering smells.
- No Shoes Inside – Your shoes will pick up all sorts of dirt from the ground. Having a “no show” rule will take care of the majority of your cleaning.
- Be Gentle With the Zippers – Don’t force a stuck zipper. Instead, hold the zipper track with one hand and gently back the slider up, wiggling it from side to side until the stuck fabric is free. Wax the zippers often to keep its track from sliding efficiently.
Caring for Tent During Tear Down
- Dry Your Tent – While you’re packing up your gear, let your tent dry for a while. Never pack your tent wet. Your tent, groundsheet, and guy lines must be completely dry before you put them in the bag.
If you don’t have time to let it dry before you leave, then be sure to lay it out to dry as soon as you get home. Never use a dryer to dry your tent. The hot air produced from dryers can damage the fabrics.
- Shake it Out – Once you’re ready to pack up your tent, give it a shake and sweep to make sure no debris is stuck inside the tent.
- Start in the Middle When Break Down Poles – This evenly distributes tension along the cord. Repeat this trick on each subsequent half-section until your pole is fully folded.
- Roll Instead of Fold – Folding is fine, but rolling provides extra protection from damages and improves your tent’s lifespan.
Proper Storage
- Store Loosely – Make sure the tent is not too tightly folded and stuffed in a bag. This can damage it.
Instead, roll loosely to allow the fabric to relax and breathe. And of course, never store your tent in a hot, damp area.
- Long Term Storage – If you’re not planning any camping trip for another 6 to 12 months, store your tent inside a big plastic bag. The bag will protect your tent from mice, bugs, and spiders.
Common Questions About Repairing a Tent
Always Be Prepared
Tent repairs are unpredictable.
Always carry the necessary equipment with you, so you can fix damages and stay warm and dry.
If your tent gets damaged while camping, make sure to re-assess the damage once you reach home.
Be prepared and have fun!


Leave A Comment