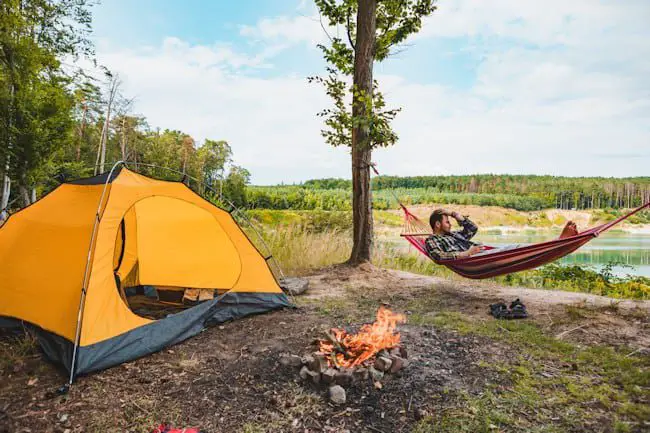
You have arrived at your campsite and it’s time to set up your tent.
Everyone around you is about to find out you have no clue what you’re doing.
Do you really want that kind of stress on your camping trip?
Didn’t think so.
Even seasoned campers can find setting up a tent challenging, especially if it’s a new tent.
We’ve created this step-by-step guide to show you how to set up a tent properly.
With little trial and error, you can pitch any type of tent, from a sturdy dome tent to a more vintage A-frame tent.
Part 1: Before Leaving Home
Step 1: Practice First
You should ALWAYS practice setting up your tent BEFORE you leave for your trip.
The setup may look easy, but don’t be fooled.
When the sun is going down and you can’t figure out what pole goes in what sleeve, you will end up sleeping out in the open.
By practicing, you will ensure you don’t forget any crucial steps. It’s also a good way to find broken or missing parts.
Step 2: Gather All Equipment
The camping equipment you will need can be broken into two types – miscellaneous gear and extra parts.
Miscellaneous gear includes things such as:
- Flashlight
- Mallet to hammer tent stakes
- Sleeping bags
- Chairs
- Water jug
- First aid kit
Extra parts are things needed in case a tent part goes missing or breaks during your trip.
- Tent poles
- Stakes
- Guy lines
- Tent repair kit
Study your tent’s instruction guide for the list of extra parts that are already included with your tent.
Part 2: Once You Arrive On Site
Step 3: Find the Perfect Spot
Finding a perfect camping spot is second to buying the perfect tent.
If you choose a less than ideal spot, you will sacrifice your comfort and potentially your safety.
When scanning the area, consider these tips:
- Look for flat and level ground away from hills.
- Have enough space for your tent plus room for activities and a fire pit.
- Avoid wet ground or areas too close to water.
- Don’t have your door facing the direction of the wind.
- Don’t set up in direct sunlight, instead find a shaded area.
Step 4: Prepare Your Spot
Once you find the perfect spot for your tent, it’s time to get it ready.
You will want to clear away as much debris as possible. This includes things like sticks, rocks, leaves, and trash.
This will ensure you sleep more comfortably and your tent won’t get scratched or damaged.
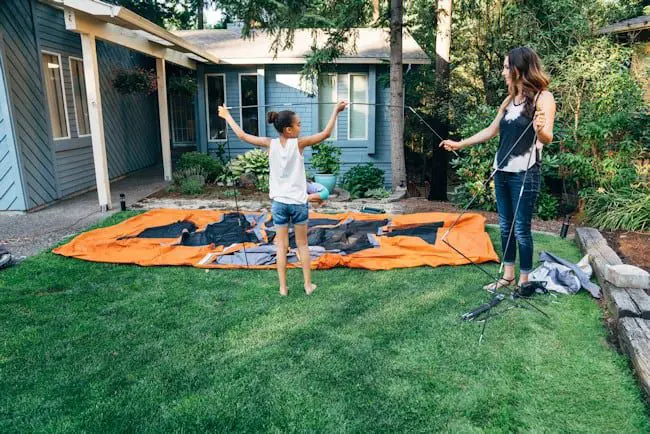
Step 5: Set Up Your Tent
So, you practiced how to set up your camp at home, you gathered all necessary equipment, and you found the perfect camping spot.
Now it’s time for the main event – pitching your tent.
Pitching a tent can be done all alone, but having a friend or a partner will make it even easier.
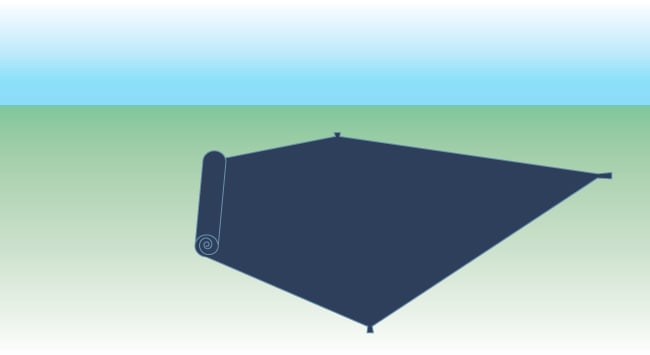
1: Lay the Foundation
The first thing you will want to do is lay out your tent’s footprint with a groundsheet.
This will protect the bottom of your tent from dirt and water. It also helps smooth out the ground for better comfort.
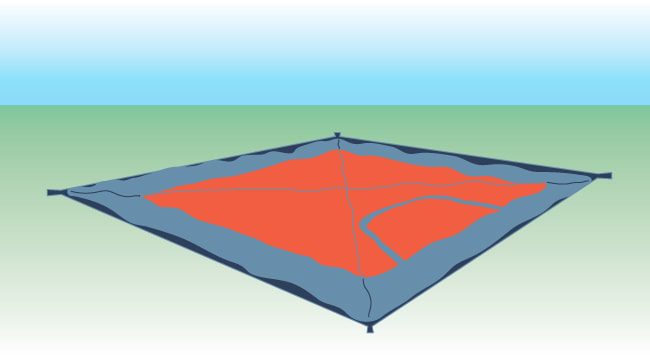
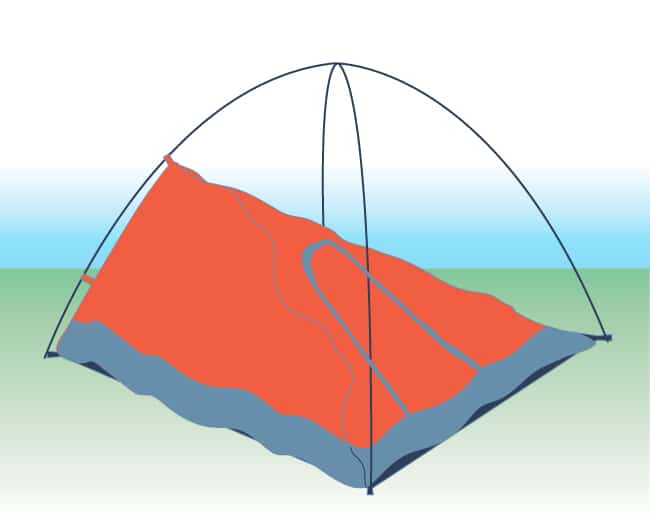
2: Roll Out Your Tent
Stretch the tent body out over top of the groundsheet. Be sure to take into account where you want the door to be. The door should face opposite from where the wind is coming.
Separate out the tent poles and stakes.
If you are setting up your tent while it’s windy, loosely stake down the corners. This will keep it from blowing away.
3: Connect the Poles
Tent poles usually come in folded sections connected by stretchy cords or coils. To assemble them, align the sections and slide the ends into each other.
Insert the poles into the tent sleeves on the outside of the tent. For many tent styles, the two poles will cross at the top of the tent creating an X frame.
If your tent has additional poles or requires the poles to be clipped to the inner part of the tent, refer to the manufacturer instruction manual.
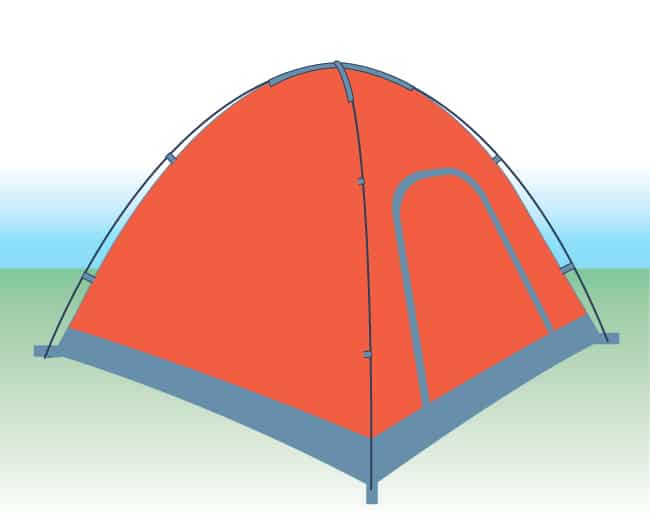
4: Raise the Tent
Once you get the poles in place, raise the tent up. Make sure each end of the pole fits into a fastener along the exterior of the tent, near the ground.
Repeat with the cross pole, then the additional support poles until the tent is fully popped up and accessible. Check for any additional fasteners or clips alongside the poles that secure it to the outside of your tent.
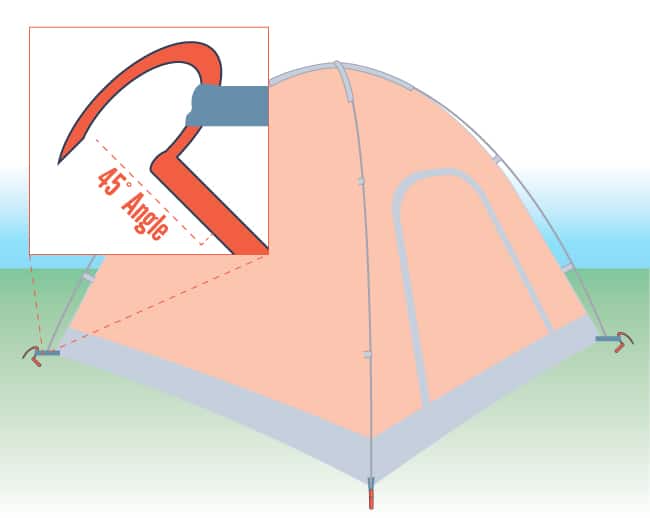
5: Stake the Tent
Each corner of the tent will have some type of loop or hook that will connect to the stake.
Start by staking two opposite corners then stake the remaining corners. With the corner and loop pulled tight to create tension, press the stake into the ground with your hand at a 45 degree angle.
Then with a rubber mallet, gently hammer the stake into the ground until the top of the stake is level with the ground. Using a rubber mallet over a traditional hammer will lessen the chance of the stake breaking.
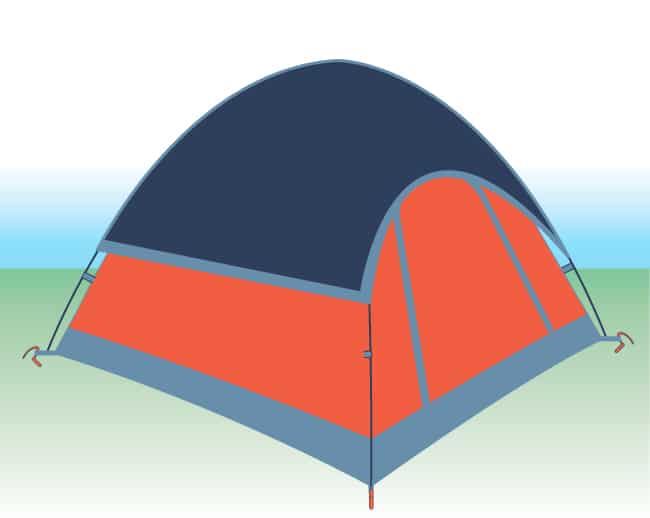
6: Add the Rainfly
This part, while important, is optional.
If you’re expecting rain during your camping trip, a rainfly will act as an umbrella to keep water from getting inside your tent.
Place the rainfly over the top of the tent frame. Then align the fly’s door with the door of the tent. If your rainfly also requires a pole, insert that first and then use the loops or tabs on the inside of the rainfly to secure it to the poles and ensure the fly’s doors are zipped closed.
7: Secure the Guy Lines
The last step in setting your tent is to secure it with guy lines, also called guy ropes.
These will create additional tension across your tent making it more sturdy in heavy wind and rain.
Attach them to the guy out points on the side of the tent that the wind is coming from, however, the guy out points can be added evenly around the tent for equal stabilization on all sides.
The lines can be secured in the ground via stakes or attached to nearby trees or rocks.

Additional Tips for Speedy Tent Set-Up
Eager to be a pro tent pitcher?
Here are some more tips to help you learn how to set up a tent fast:
- Pack the Right Way: Learn to pack your tent as it used to be when you first purchase it. Or pack it in such a way where you access the first thing you’ll need first and the last thing you’ll need last.
- Buy Fast Installation Tents: If you want the fastest tent setup on the market, invest in an instant pop-up tent. They don’t require poles and will literally pop open as soon as they are unfolded.
- Practice: This was mentioned before, but it’s so important that we included it in this section as well! The more you practice and familiarize yourself with your tent ahead of time, the faster you will be at setting it up.
Common Mistakes To Avoid When Setting Up Your Tent
These are the most common mistakes beginner campers make.
- Not Staking Down the Tent: You can set up your tent without staking it down. But, a tent without a stake can be blown away even with a small gust of wind.
- Not Taking Enough Time: Setting up a camp, especially the right way, takes some time. Don’t be in a hurry or else you run the risk of damaging your tent.
- Not Practicing: Yes we are going to say it again. The biggest mistake campers make is not practicing setting up their tent before their trip.
Happy Camping
Camping offers families an incredibly enjoyable and budget-friendly way to bond and reconnect with nature. It’s a low-effort activity that can yield immense joy and lasting memories. Setting up a tent, gathering around a campfire, and exploring the outdoors together fosters a sense of togetherness and adventure.
Learning how to set up a tent is a necessary skill to have for outdoor camping.
A lot of practice and planning will go a long way in helping you to easily and efficiently set up a sturdy, comfortable, and dry outdoor shelter.


Leave A Comment